
This page may contain affiliate links. Read my discloser here.

It is finally ready for you! A gluten free sourdough that aligns with the Trim Healthy Mama Plan as an E fuel (I’ll list the nutritional facts at the end). I am so excited to share this recipe with you!
If you like this recipe please like, comment, and subscribe to the blog as well as follow me on social media so you don’t miss the next post!
Sourdough is a fabulous bread option because of the yeast that provides the rise – it also makes the bread more digestible as the yeast have already done half the work for you! For this recipe you will need a gluten free sourdough starter which I shared on my latest blog post. There can be a lot of variables when it comes to bread baking. For example, oven temperature seems to vary between ovens even if they are both set to the same temperature! The temperature of your house during summer versus winter will cause the bread to rise at differing rates. The amount of water you may need can depend on how the brand of flour you use absorbs it. All that to say, consider this a journey! It may take a few attempts to make it perfection for you and your family. It may even end up perfectly the first try! Just be patient and persistent and enjoy the fact you are learning a baking method that has been used for centuries!
What you will need:
- Kitchen Equipment: Most of this is optional as you can find other solutions – don’t let not having something discourage you from trying it.
- Mixing Bowl: I personally love pyrex. I can be kinda clumsy and these don’t break easily (hallelujah!).
- Stand Mixer, I have a kitchen aid and I love it! I use the flat, paddle beater. You could mix the dough with your hands but it is sticky and a mixer is just easier.
- Cast Iron Dutch Oven: this gives the bread a better crust while also making sure the inside cooks well and doesn’t burn the outside. It helps the bread cook evenly. If you don’t have a dutch oven you can follow this google link to find a solution that works for you! If you plan on making bread regularly it may be helpful to make this investment.
- Kitchen scale: I will give you the measurements in grams but also in cups if you do not have a scale. However, weighing your ingredients is much more effective as everyone measures differently. For reference when I give a cup measurement I use the “spoon and level method” for dry ingredients. (Note: the sourdough starter is considered a wet ingredient.) I have this one.
- A sifter: I use a fine mesh strainer. Again, this is optional but I like to make sure there are no clumps in the flour.
- Silicon baking mat or wax paper for shaping the dough. I’ve had a silicon baking mat for a few years so I use that.
- Parchment paper for baking, you can also use this to shape the dough if you don’t have a baking mat or wax paper.
- Ingredients:
- Psyllium Husks
- Golden Flaxseed Meal I like Bob’s Red Mill.
- Warm, non-chlorinated water. Chlorinated water can interfere with the yeast. I use a ZeroWater Water Filter to be sure the water is clean enough. You can check the condition of the water where you live at this link.
- THM Baking Blend: You can get a 3 lb bag or a 16 oz bag depending on how much you will use. OR You can use sorghum flour. This will change the nutrition since it has more carbs than THM baking blend, but it seems to rise a little better.
- Oat Flour: You can grind your own oats in a blender/food processor – I use a nutribullet. Or you can buy and use prepared oat flour.
- Oat Fiber: different than oat flour this is just the fiber and is fat and calorie free! But it boasts 27g of fiber per 1/4 cup serving! The typical American diet rarely gets enough fiber but this bread can help supplement that.
- Mineral Salt
- Sourdough starter, you can make your own from my previous blog post.
- Brown Rice Flour: I like Bob’s Red Mill (organic or regular) as well as Anthony’s Brand.
- Couple of cubes of ice to create a steam effect in the dutch oven.
Baking Directions:
- The night before baking pour 150g (1/2 cup) of sourdough starter into a mixing bowl. Add 125g (1 cup) of brown rice flour and 160g (2/3 cup) of water. Mix well and cover with a tea towel. Set aside until the next morning. The next morning check the starter in the bowl and make sure it is lively and bubbly – then you’re ready to get baking!

- Prepare your gel mixture:
- In a bowl or 2-cup+ Pyrex liquid measure cup add the following:
- 20g (1/3 cup) of golden flax meal
- 30g (1/3 cup) of whole psyllium husks
- 375g (1 & 3/4 cup) warm water
- Mix well with a spoon quickly as it will begin to solidify right away.
- In a bowl or 2-cup+ Pyrex liquid measure cup add the following:
- Prepare the dry ingredients:
- Sift the following into your standing mixer bowl (if using a stand mixer). I find it easier to sift one ingredient at a time rather than adding them all at once.
- 150g (1 & 3/4 cup) THM Baking Blend OR 140g of sorghum flour.
- 140g Oat Flour (1&1/2 cup of whole oats if you are grinding them yourself or 1 1/3 cup of prepared oat flour)
- 45 g (3/4 cup) Oat Fiber
- 15 g (1/2 TBSP) Mineral Salt
- After sifting each ingredient into the mixing bowl give them a little stir to blend together slightly. Note: I have since determined that sifting may be an unnecessary step. I have made it many times without sifting and it turned out just as well.
- Sift the following into your standing mixer bowl (if using a stand mixer). I find it easier to sift one ingredient at a time rather than adding them all at once.

- Add the sourdough starter from Step 1 and the gel mixture from Step 2 to the mixing bowl. If using a stand mixer, blend on the second to lowest setting.

- Slowly add 120g of non-chlorinated water to the mixer while it is running. Note: depending on the brand of ingredients you use you may need a little more or less water as some brands absorb more water than others. You want the dough texture to be:
- Wet enough that no flour remains at the bottom of the bowl.
- Most of the dough is sticking to the beater and slowly falling of the beater and into the bowl.

- Once you have finished mixing the dough, sprinkle brown rice flour onto your hands and place it onto wax paper, parchment paper, or a silicon baking mat that has also been sprinkled generously with brown rice flour. You may find it helpful to sprinkle the top of the dough with brown rice flour as well. I like to keep a pile of brown rice flour on the side of the baking mat so that I can easily get more if it is sticking. Stretch and fold the dough and rotate 90˚ a few times until it is mostly formed into a loose ball. Then further shape the dough into a rounded ball by rolling it around the mat and tucking in the sides underneath the ball.


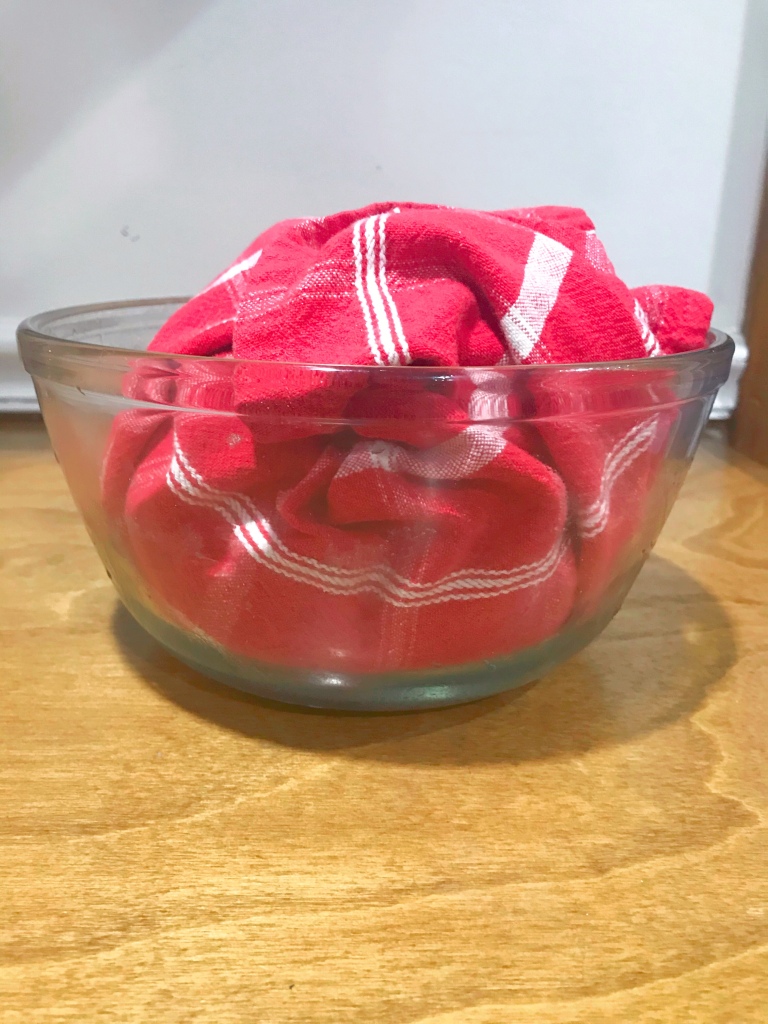
- Place a tea towel in a serving bowl (I use a 10 cup pyrex bowl) and sprinkle the towel with brown rice flour so it doesn’t stick to the towel while rising. Place the dough ball in the bowl upside down from what you have formed on your mat.


- Cover the dough with the tea towel and set aside in a warm place to allow it to rise for 3-5 hours, depending on the temperature of your house. You want the dough to rise about an inch and fill the bowl. It should bounce back when gently pressed upon by your finger. Check the dough at the three hour mark to see if it is ready and again for the subsequent hours until it has fully risen.

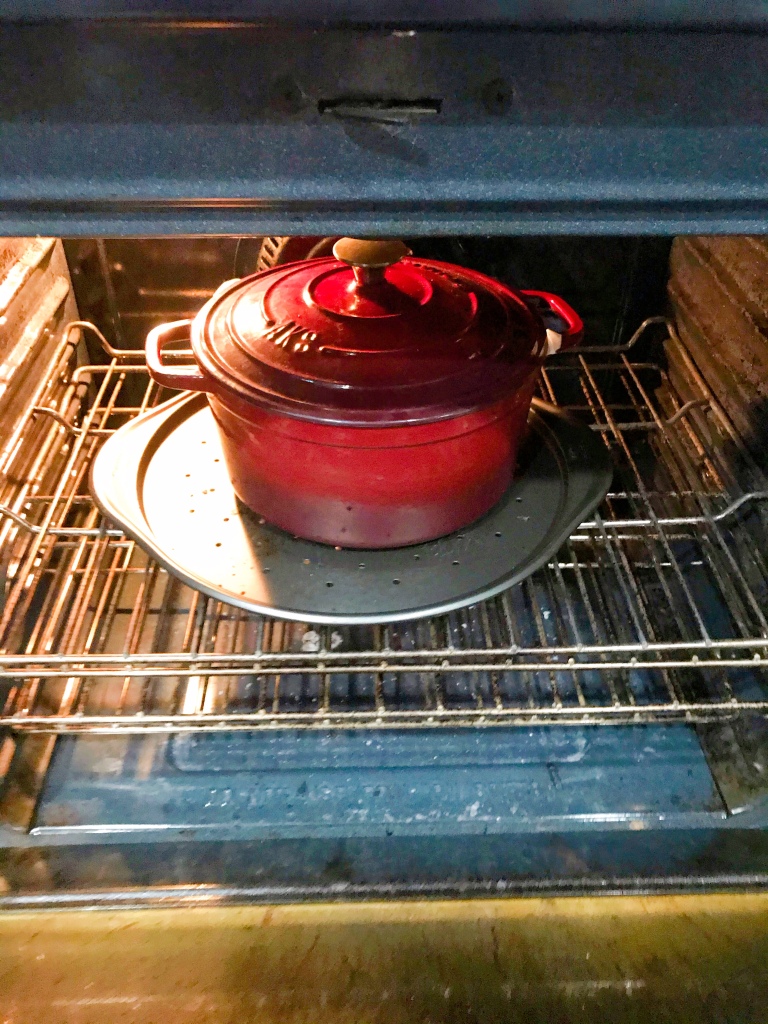
- Once the bread is risen preheat the oven WITH the dutch oven inside to 450˚F.
- Place the loaf upside down from your bowl onto some parchment paper (this means the loaf is now the same side up as when you shaped it, this side is likely to be smoother than the side that was up in the bowl).
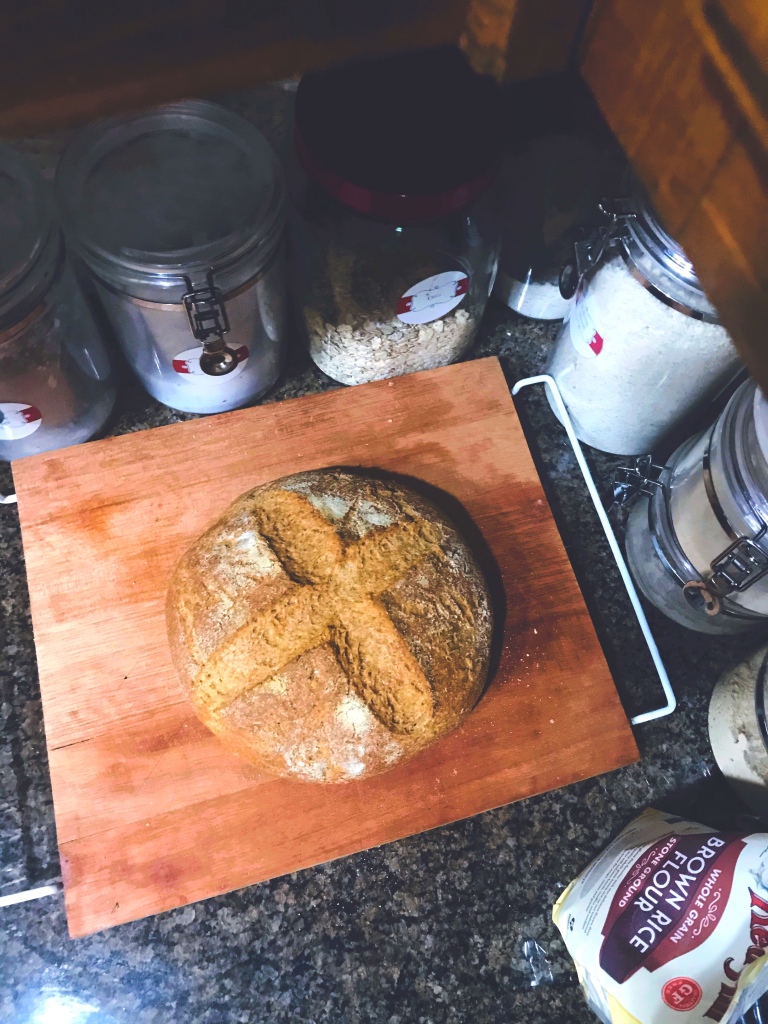
- Score your bread with a sharp knife, razor, or a scoring blade. You want to make at least one cut that is 1/4 – 1/2 inch deep, the rest can be decorative. Google some score patterns. They can be pretty fancy, but I would keep it simple to begin with. I’m not particularly creative so I tend to keep it very simple 🙂

- Time to bake!!! Place the bread and the parchment inside the dutch oven. Optional: Place some ice cubes under the parchment for a steam effect (I prefer the crust that develops this way – try it for yourself with and without to see which you like most!). Keep in mind these baking times vary based on your oven, adjust as needed. The bread is done baking when the crust is the color you want and it sounds hollow inside when you tap on it with your fingers.
- For a crunchier crust use this method:
- Bake for 75 minutes with the dutch oven lid on.
- Remove the lid and bake for 30 minutes.
- OPTIONAL: Take the dutch oven out of the oven and remove the bread. Place the loaf back in the oven directly on the rack to bake for 5 more minutes for an even firmer crust.
- For a softer crust bake the the bread inside the dutch oven with the lid on for the entire baking time: 1 hour & 45 minutes.
Note: I know this is obvious, but the oven, dutch oven, and bread will be extremely hot! I have gotten a second degree burn before when forgetting to use a pot holder when putting the lid back on the dutch oven for the first 40 minute bake.
- For a crunchier crust use this method:


- After baking remove the bread from the oven/dutch oven and allow it to COMPLETELY cool. I usually let my bread rest and cool overnight. I know it is tempting because it looks and smells SO good – but the bread is still cooking on the inside.
- After a minimum of 6-8 hours your bread is ready to slice! Eat and enjoy!
- You can store your bread on the counter for a day or two, store in the fridge for a week or two, or store in the freezer for a couple of months. If you’re going to freeze it I suggest slicing it and wrapping each slice in wax paper so you can get one out at a time to enjoy.
I know this looks like many steps, but most of it is hands-off. If you plan it around your day you can let it rise while you’re out of the house if you need to run errands. It makes a fun weekend activity if you are working full time and out of the house most of the week.
Nutritional Facts
Based on THM macro calculations (if using THM Baking Blend) – big thanks to Cathryn for helping me with this!
This bread makes about 15 slices and the nutritional facts per slice are as follows: Calories: 120, Fat: 1.7 g, Total Carbs: 16.7 g, Fiber: 1.7 g (net carbs = 15 g), protein 5.3 g. Making this a THM E Fuel. Note: This calculation may vary depending on brands you may use.

What would be a good substitute for oat fiber? More oat flour more flax? Thanks!
LikeLike
Hey Tarah! Are you a Trim Healthy Mama? If so there really isn’t anything you can substitute for the oat fiber (that I can think of). The oat fiber is a THM starch substitute, most other starch flours aren’t on plan (like arrowroot). This recipe really needs a starch to bind it all together so I used the oat flour since it is THM compliant. I’m sure you could try it by fluctuating the oat flour/flax but I haven’t personally done this so I’m not sure how it will turn out.
LikeLike
Yes I’m a THM mama. Thanks for your great recipe. This is my 5th recipe try for GF sourdough and I’m excited that it’s a THM one too! Fingers crossed that I meet my love match here 🙂
LikeLike
Thoughts on why mine was completely baked on the outside but raw on the inside?
LikeLike
I have this happen occasionally. From what I’ve learned this could be due to: 1) the oven not being hot enough. 2) Not long enough baking time. 3) Too much water in the mix. It may take a little tinkering but you got this 😃
LikeLike